Acrylic Stucco Installation Services for Property Owners
Visitors can learn about how local contractors install acrylic stucco and compare service options to find the right professionals for their project.
- - Residential property owners seeking durable exterior finishes for homes and garages.
- - Commercial building managers looking to enhance building exteriors with high-quality acrylic stucco.
- - Contractors and property developers needing reliable local service providers for stucco installation projects.
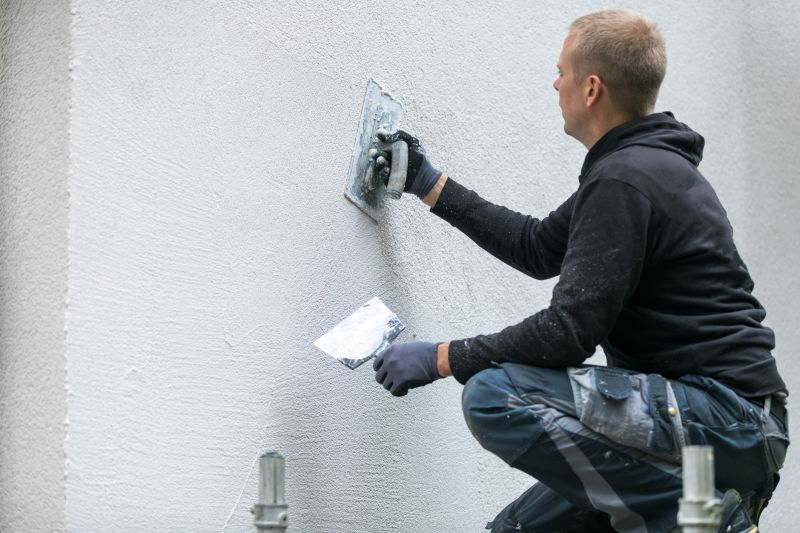
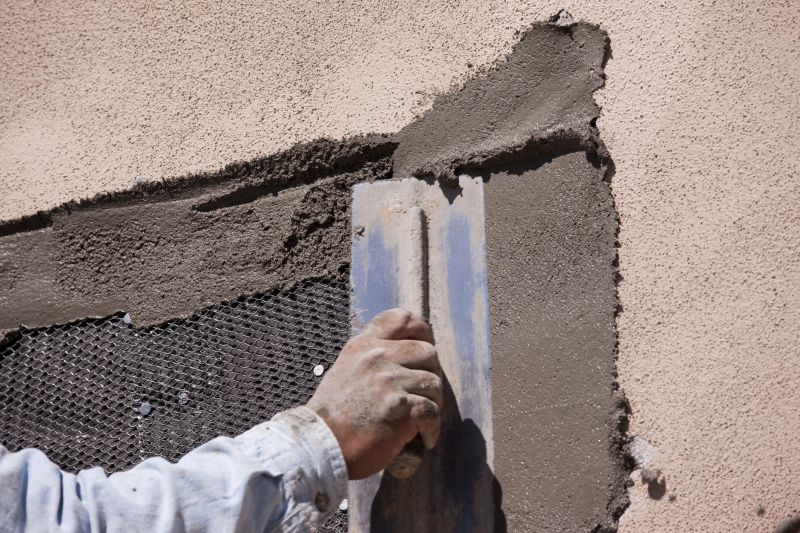

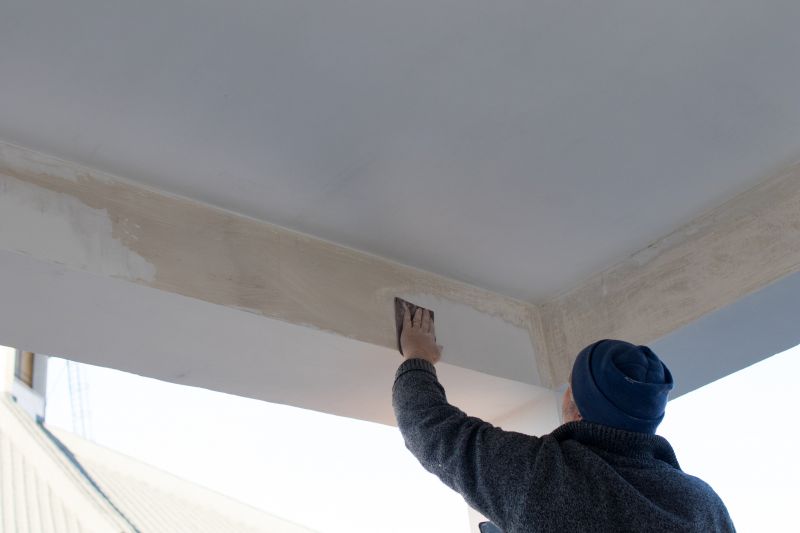
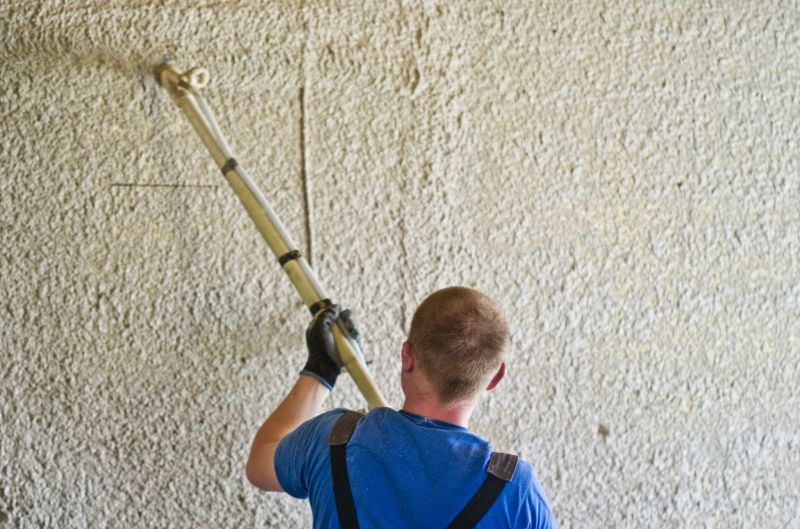
Acrylic stucco installation is a popular choice for enhancing the exterior appearance and durability of residential and commercial properties. This work involves applying a textured, weather-resistant coating to building exteriors, providing a modern and attractive finish. Property owners often seek out local contractors experienced in acrylic stucco to ensure proper application, especially when updating existing surfaces or completing new construction projects. These professionals can assess the condition of the existing exterior, prepare surfaces appropriately, and deliver a smooth, long-lasting finish that improves curb appeal.
Local contractors specializing in acrylic stucco installation are equipped to handle a variety of property types and project sizes. They typically work closely with property owners to understand their aesthetic preferences and structural needs, offering guidance on the best application techniques and finishes. When searching for a professional, property owners can expect to connect with experienced service providers who focus on quality craftsmanship and attention to detail. These local pros are familiar with the nuances of acrylic stucco work and can help ensure the finished result meets expectations and withstands the elements.
This guide provides helpful information to compare and evaluate local contractors who specialize in acrylic stucco installation. It aims to assist in understanding the key aspects of the project and what to consider when connecting with service providers. The goal is to help visitors gather the basics needed to make informed decisions about working with local acrylic stucco specialists.